How to Add Support Files to an Evaluation Task
This article provides instructions for uploading support files to an evaluation task in TES®. Users can add support files to an open evaluation task:
- During the creation of the task.
- After the creation of the task, through the My Evaluations and All Open Evaluations queues.
In this article:
Upload Support Files when Creating an Evaluation Task
Create Evaluation Task contains links to multiple articles with instructions on creating evaluation tasks. Additionally, see the video overview below:
Add Support Files to an Open Evaluation Task
Support files can be added to open evaluation tasks through either the My Evaluations or All Open Evaluations queue. Users must have the SERVICE EVAL user right to access My Evaluations, and SERVICE EVAL and MANAGE EVAL to access All Open Evaluations.
To add support files to an existing evaluation task:
- Go to the Track menu.
- Select My Evaluations or All Open Evaluations.
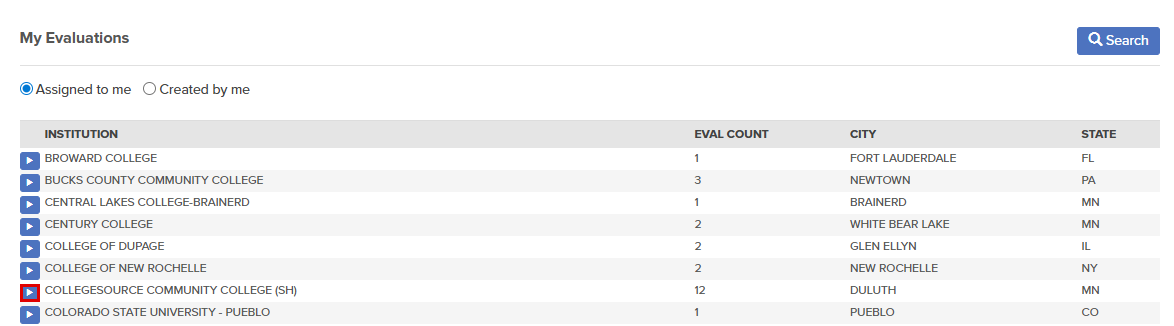
In this example, the My Evaluations queue has been selected.
- Assigned to me will be selected by default.
- To see evaluations the user created, toggle Created by me.
- Select the arrow to the left of the INSTITUTION name.
- Select the arrow to the left of the SEND COURSE(S).

- The EDIT EVALUATION screen will display the evaluation task.
- Within the SELECT AN ACTION drop-down, choose Add/Edit Support File.

- Select Choose File to upload a PDF.

Two PDFs can be uploaded at a time. Each file must be less than 10 MB and together cannot exceed the combined 20 MB limit
- Select Submit.
Once added, the files will appear within the EVALUATION DETAIL under Support Files. Users can select the icon to view the PDF.

To add additional support files, repeat these steps.
If a support file was added in error, toggle DELETE ALL to remove all support files. Repeat the steps above with the correct support file.